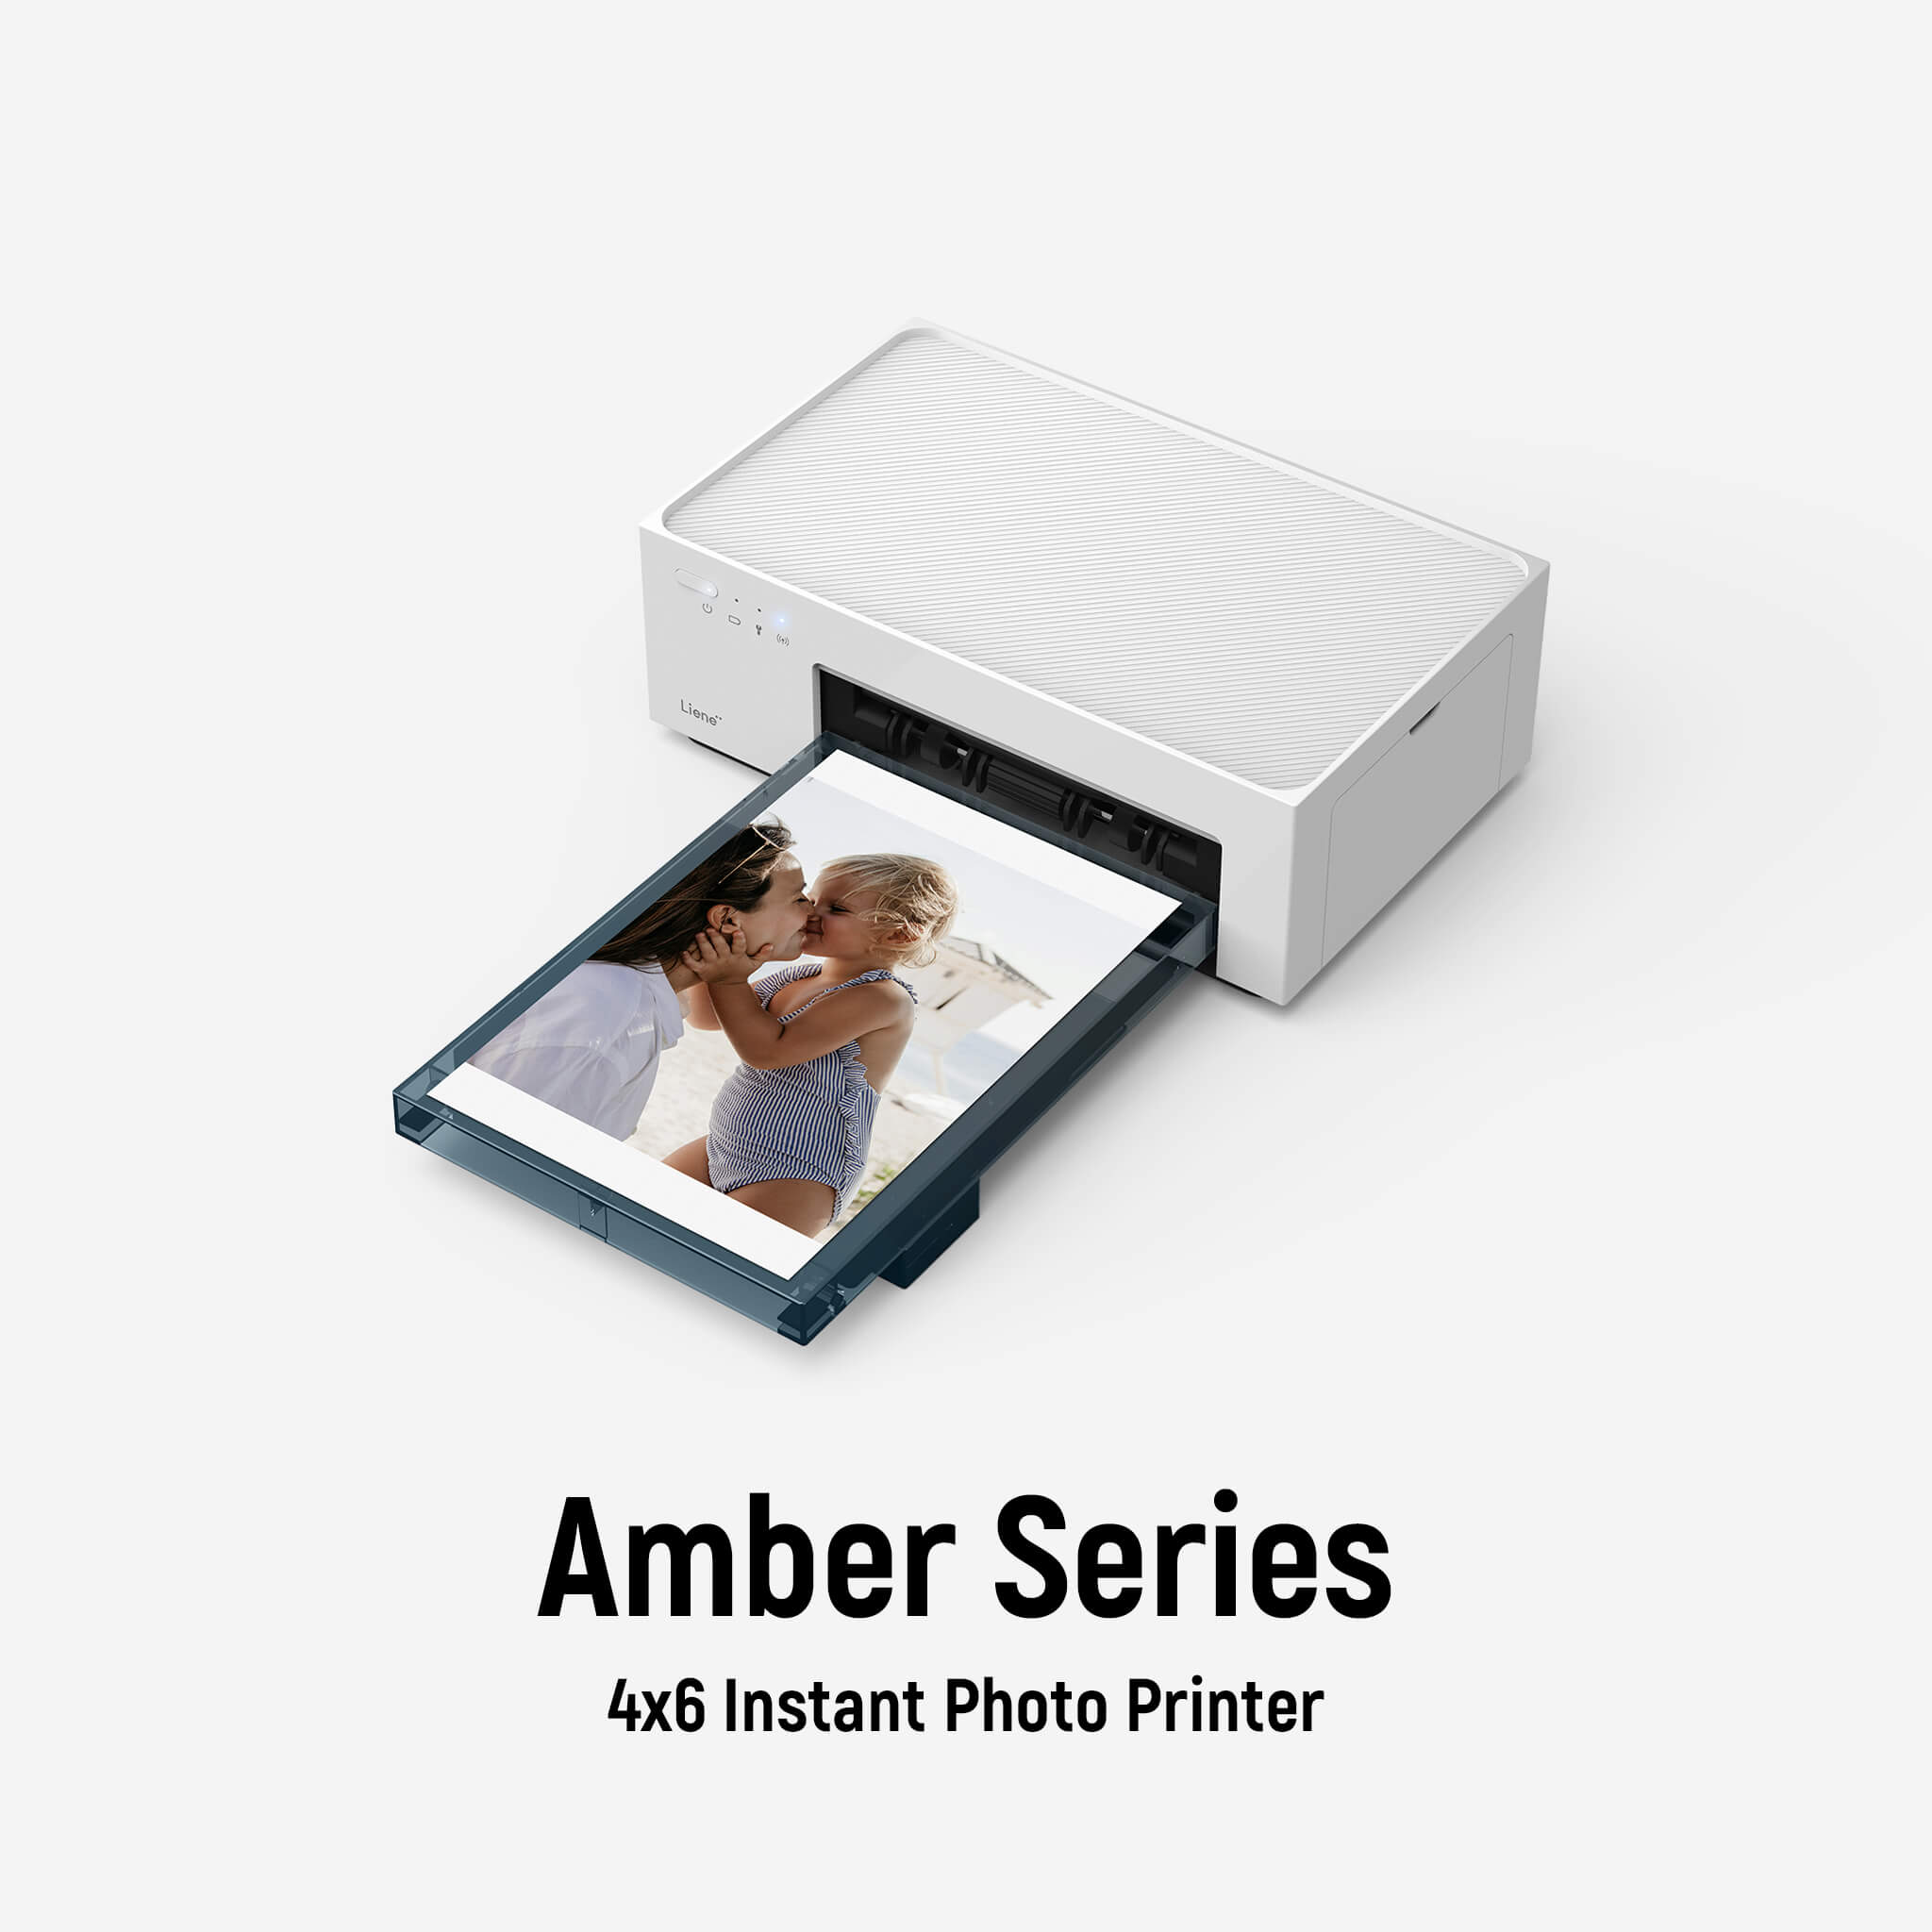
Liene Desktop Printer is very easy to set up and use compared to traditional printers. Let’s cut to the chase, let me show you how to set up and use a Liene Desktop Printer.
Load photo paper and ink cartridge into the Liene Desktop Printer
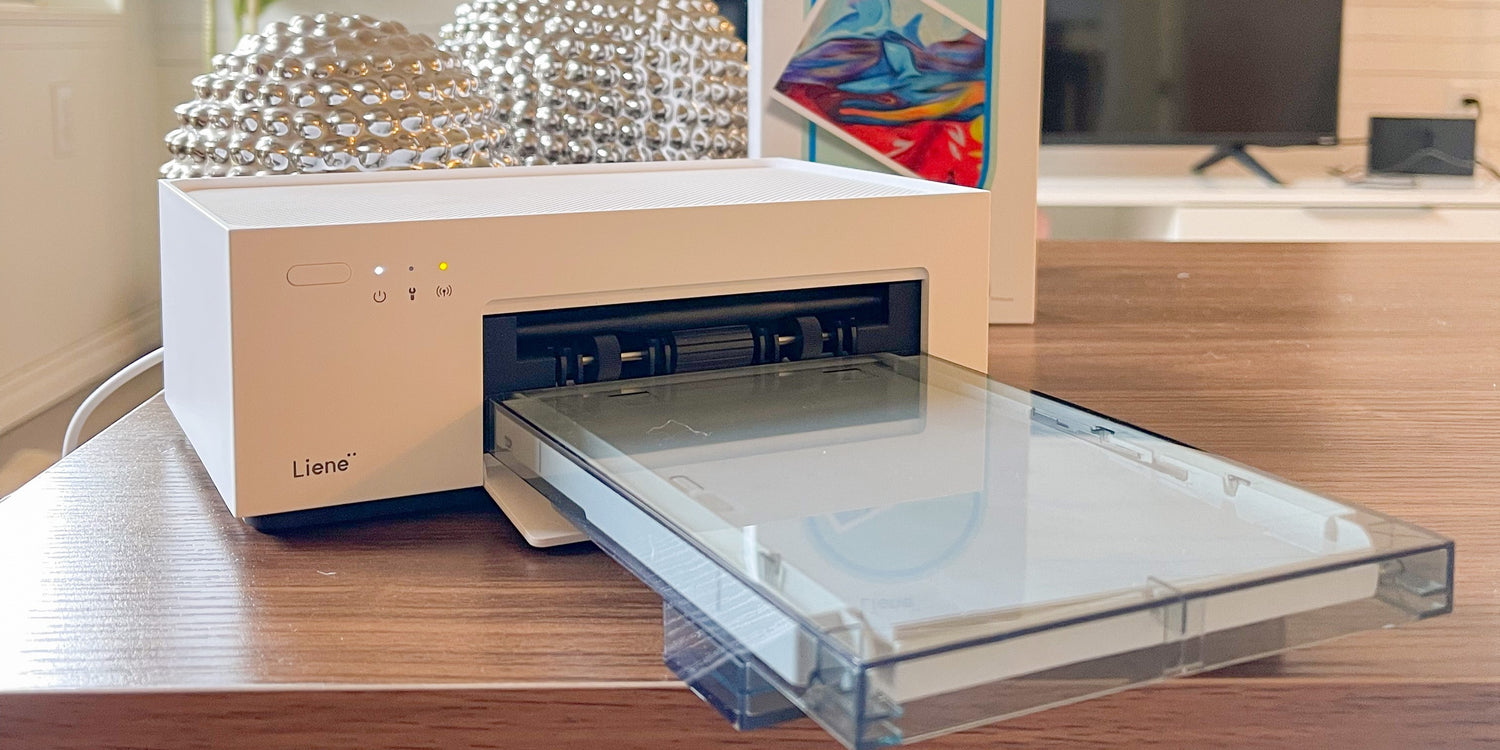
First, open the Liene Desktop Printer side door, insert a new ink cartridge until the lock is in place, and close the side door. Then you fill in the photo paper. Open the Liene Desktop Printer paper cassette cover along the top seam, load photo paper in the cassette with the glossy side face-up, and close the cassette cover. The maximum capacity of the cassette is 20 sheets of photo paper, so make sure you do not load too many sheets. While loading, you need to keep your hand off the area within the crop marks of a photo paper when loading. Next, you install the paper cassette. To install the paper cassette into your device, you should undraw the paper cassette holder, rotate it down 180° to the bottom and insert it into the printer. Now your printer is ready to run.

Connect the Liene Desktop Printer with your devices and print
Liene Desktop Printer has five printing methods, let's talk about how to connect the devices to each of these five methods
1-Print from the iOS Device
Liene Desktop Printer allows you to print directly from your iPhone album without any other app assistance. Make sure that the device is connected to the printer Wi-Fi hotspot, and the Wi-Fi hotspot indicator lights on in blue, confirm that you agree to use this network. Open the album and select the photos, then select the printer, adjust the printing parameters, and print.
2-Print from Android Devices
Just as convenient as iOS, with Android devices, you can also print photos directly from your phone album. Make sure that the device is connected to the printer Wi-Fi hotspot, and the Wi-Fi hotspot indicator lights on in blue, confirm that you agree to use this network. Open the album and select the photos, then select the printer, adjust the printing parameters, and print.
3-Print via USB from a computer
Click here to download the driver for Photo Printer Series and install it. Connect the printer to the computer using a USB cable. Select the photos, click "Print", and select "Liene Photo Printer".
4-Print via Wi-Fi from a computer
Click here to download the driver for Liene Photo Printer Series and install it. After the computer has successfully connected to the printer Wi-Fi hotspot, follow the steps in the table below to set the printer connection. For Windows 10, click "Settings">"Devices">"Printers and Scanners">"Add a Printer or Scanner", and select "Liene Photo Printer [xxxx]-WiFi". After successful connection, select the photos, click "Print", and select "Liene Photo Printer[xxxx]-Wi-Fi".
5-Print with the "Liene Photo" APP
Of course, you can also print through the Liene app, which allows for basic photo editing features and several filters, as well as the ability to print ID photos, and adjust print sizes.



6 comments
Robin Jordan
How can I reduce the size of the photo to be printed? Thank you.
karl
i would like to put this on my laptop
Maureen Voels
I wanted to find out what usb cable cord is used for the 4×6 Liene Photo printer to connect to desktop computer. Thank you for your help.
Herbert Grosser
How can I change the network password for the Liene Amber
Esther Lopez
Are we able to print photos using the chip from a camera?….am old, do not take pictures with a phone….thank you for any information you can furnish on my question….88 year old Latina….
Leave a comment
All comments are moderated before being published.
This site is protected by hCaptcha and the hCaptcha Privacy Policy and Terms of Service apply.