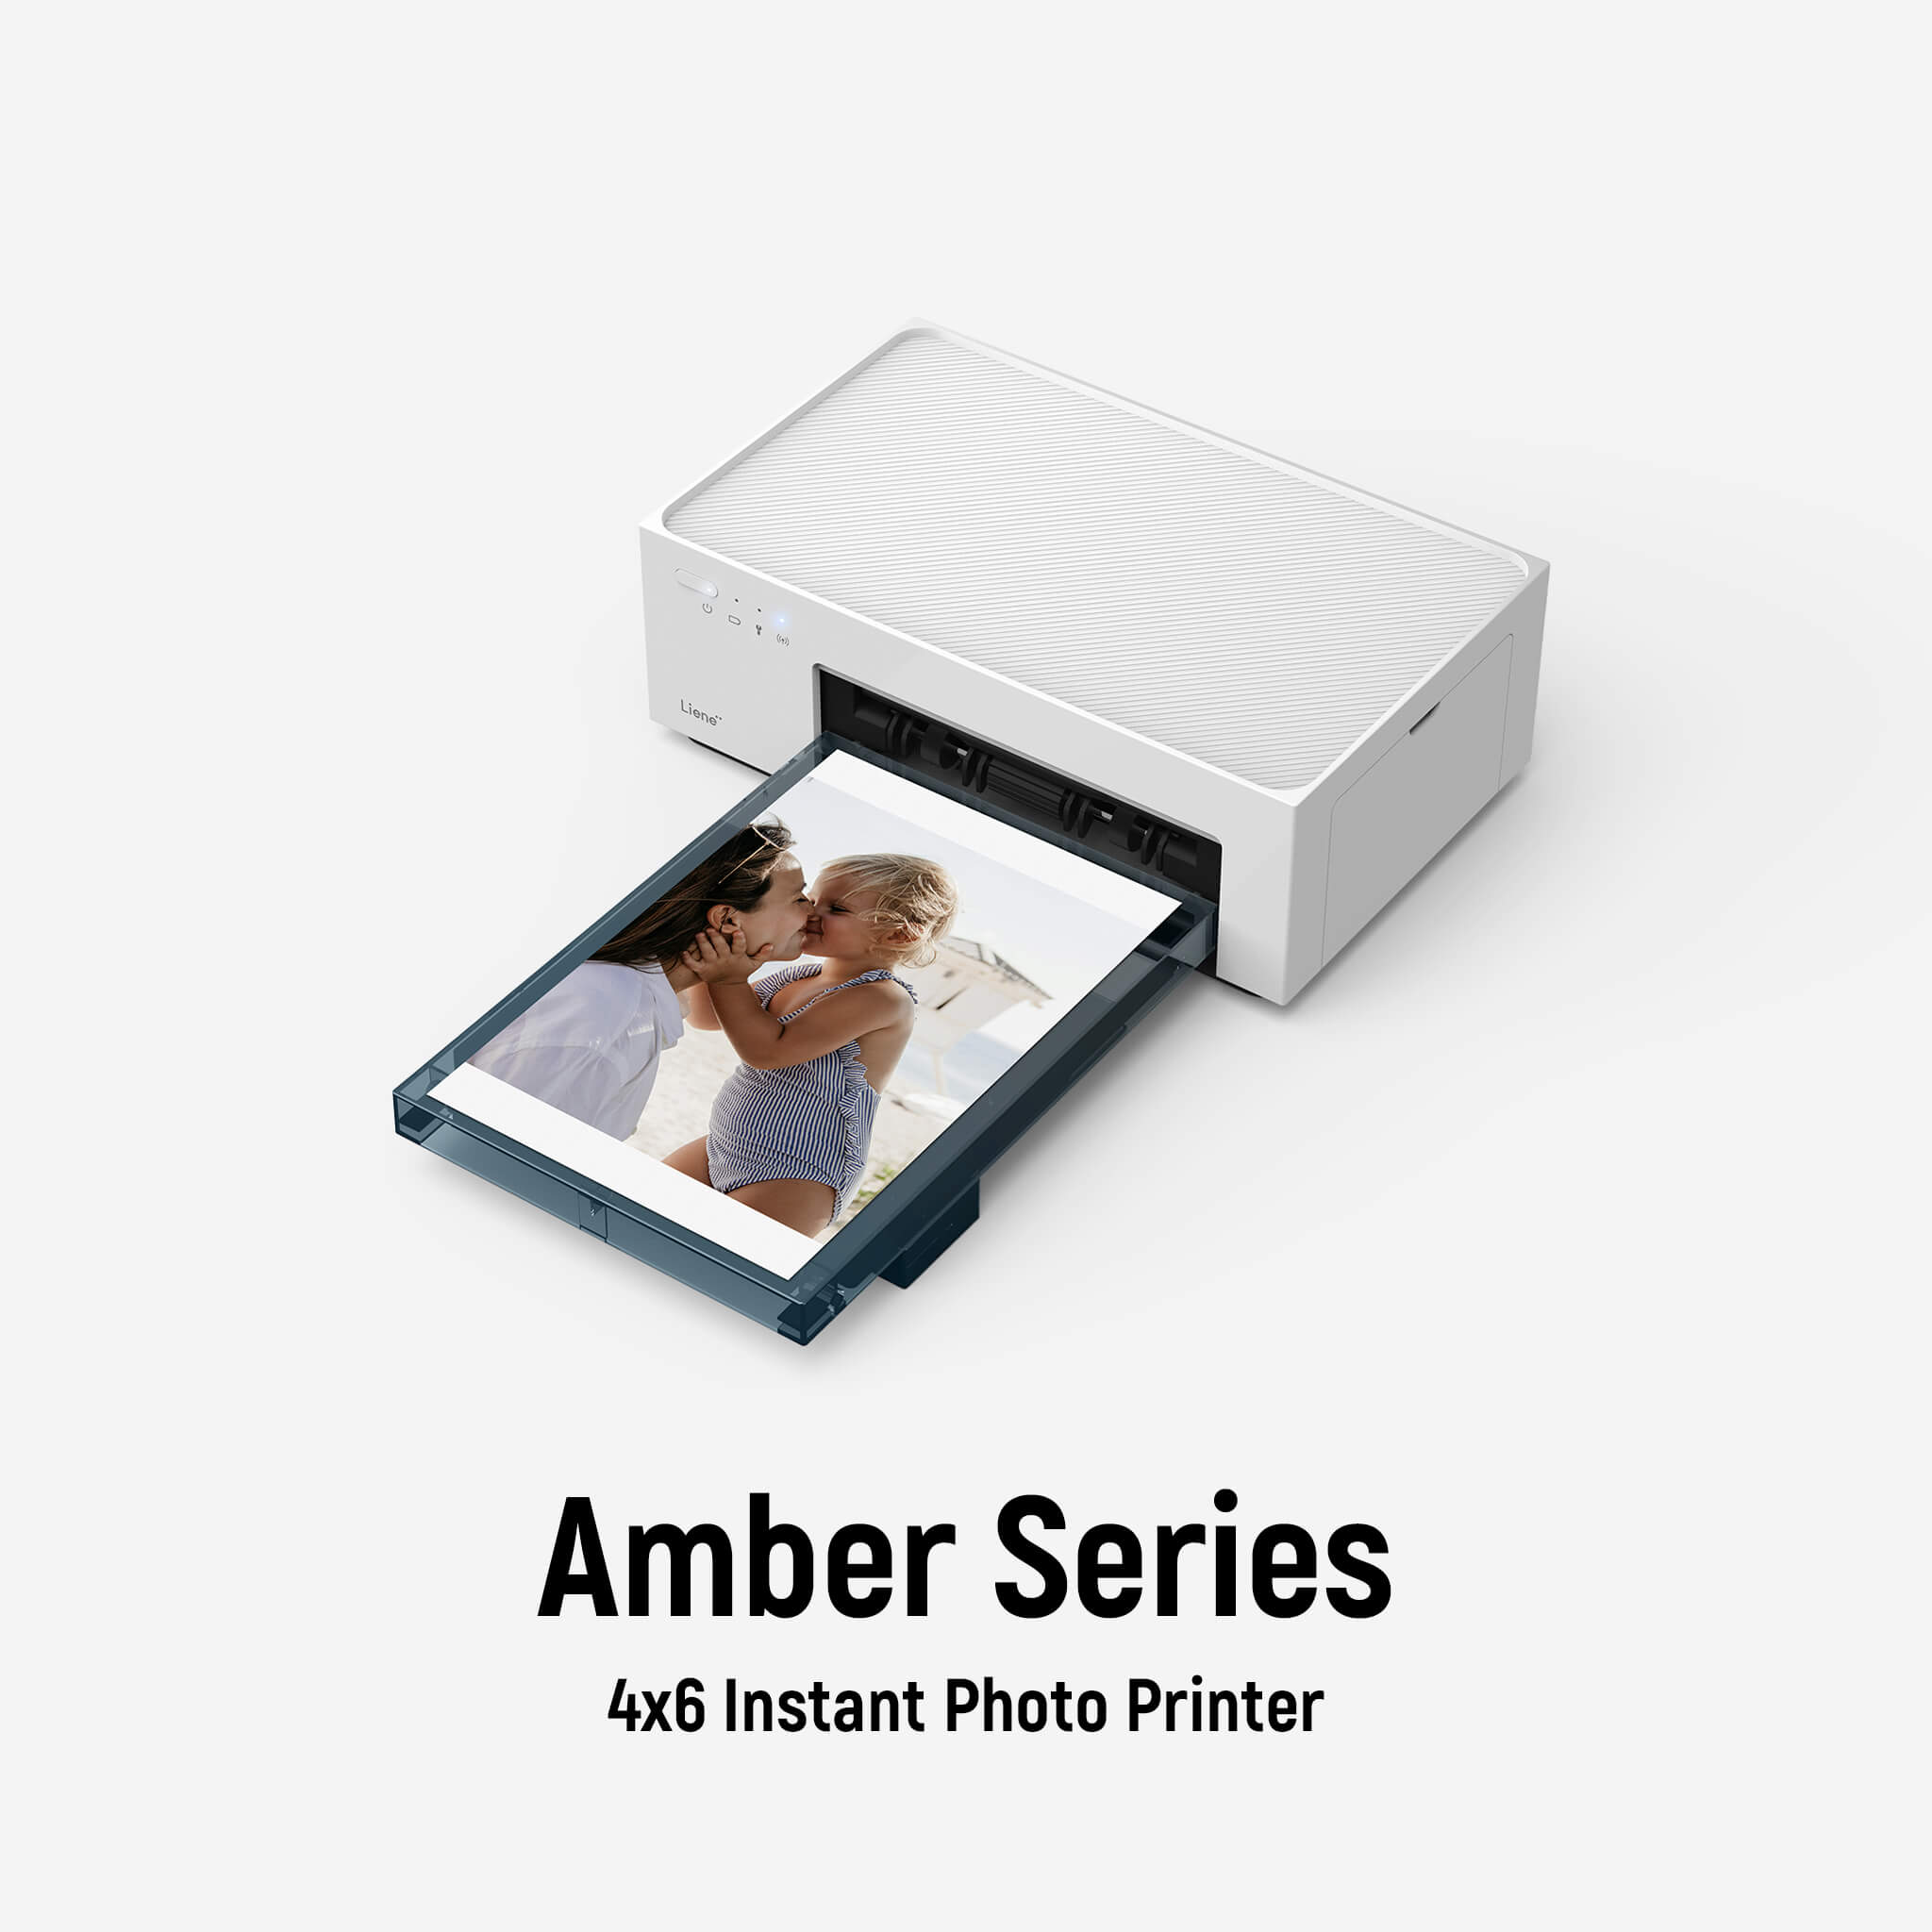
How to Set up and Use the Liene Amber 4x6 Instant Photo Printer
This document is for Liene Amber 4x6 Instant Photo Printer (Battery Edition and Non-Battery Edition)
Step 1: Unbox the printer and connect the power cord
Remove the printer from the box, connect the power cord, and then turn it on.
Step 2: Load Amber 4x6 Instant Photo Printer photo paper
Open the Liene Desktop Printer paper cassette cover along the top seam, load photo paper in the cassette with the glossy side face-up, and close the cassette cover.
The maximum capacity of the cassette is 20 sheets of photo paper, so make sure you do not load too many sheets.
While loading, you need to keep your hand off the area within the crop marks of a photo paper when loading.
Step 3: Install the cartridge
Open the Amber 4x6 Instant Photo Printer side door, insert a new ink cartridge until the lock is in place, and close the side door.
Step 4: Install the paper cassette.
To install the paper cassette into your device, you should undraw the paper cassette holder, rotate it down 180° to the bottom and insert it into the printer.
Now your printer is ready to run.
Step 5: Connect the Photo Printer with your devices and print
1. Print from the iOS Phone
- Built-in Wi-Fi hotspot connection: Liene Desktop Printer allows you to print directly from your iPhone album without any other app assistance. Make sure that the device is connected to the printer built-in Wi-Fi hotspot, and the built-in Wi-Fi hotspot indicator lights on in blue, confirm that you agree to use this network. Open the album and select the photos, then select the printer, adjust the printing parameters, and print.
- Print with the "Liene Photo" APP: you can also print through the Liene Photo APP, which allows for basic photo editing features and several filters, as well as the ability to print ID photos, and adjust print sizes.
2. Print from Android Phone
- Built-in Wi-Fi hotspot connection: Just as convenient as iOS, with Android devices, you can also print photos directly from your phone album. Make sure that the device is connected to the printer built-in Wi-Fi hotspot, and the built-in Wi-Fi hotspot indicator lights on in blue, confirm that you agree to use this network. Open the album and select the photos, then select the printer, adjust the printing parameters, and print.
- Print with the "Liene Photo" APP: you can also print through the Liene Photo APP, which allows for basic photo editing features and several filters, as well as the ability to print ID photos, and adjust print sizes.
3. Print photos from a computer
- via USB-C from a computer
Click here to download the driver for Photo Printer Series and install it. Connect the printer to the computer using a USB-C cable. Select the photos, click "Print", and select "Liene Photo Printer".
- Print via Built-in Wi-Fi from a computer
Click here to download the driver for Liene Photo Printer Series and install it. After the computer has successfully connected to the printer Wi-Fi hotspot, follow the steps in the table below to set the printer connection. For Windows 10, click "Settings">"Devices">"Printers and Scanners">"Add a Printer or Scanner", and select "Liene Photo Printer [xxxx]-WiFi". After successful connection, select the photos, click "Print", and select "Liene Photo Printer[xxxx]-Wi-Fi".


